Sunday, 6 April 2014


Its been a fair while since my last post, I've been very busy! We finished and preformed the show last Thursday at Headly Park School and now I finally have time to go through all the material and stick it up here on the blog! I'll go through the development of the show since my last post and then write my thoughts on the performance itself. 
To follow on from the little cardboard model on my last blog post, here is how the rocky island for the long armed character, Gordon, developed.


 After I constructed a form from sheet MDF, Bee came and helped me out by covering it in paper mache.


Next I roughed out the base paints, I also put metal strips around the edges of the area the puppet preforms in. This allows the magnets built into his hands to 'stick' to the set. I also glued carpet to these areas to help give the puppet additional grip while performing. Behind the set I later built a small shelf for props.
This is the finished set, I added a fur fabric 'skirt' to allow greater flexibility in terms of how high the 'sea level' was by disguising the base of the set. I also added some mussels to give more life and texture to the set.
Next up is the island where the long-legged character, Steven,  lives.
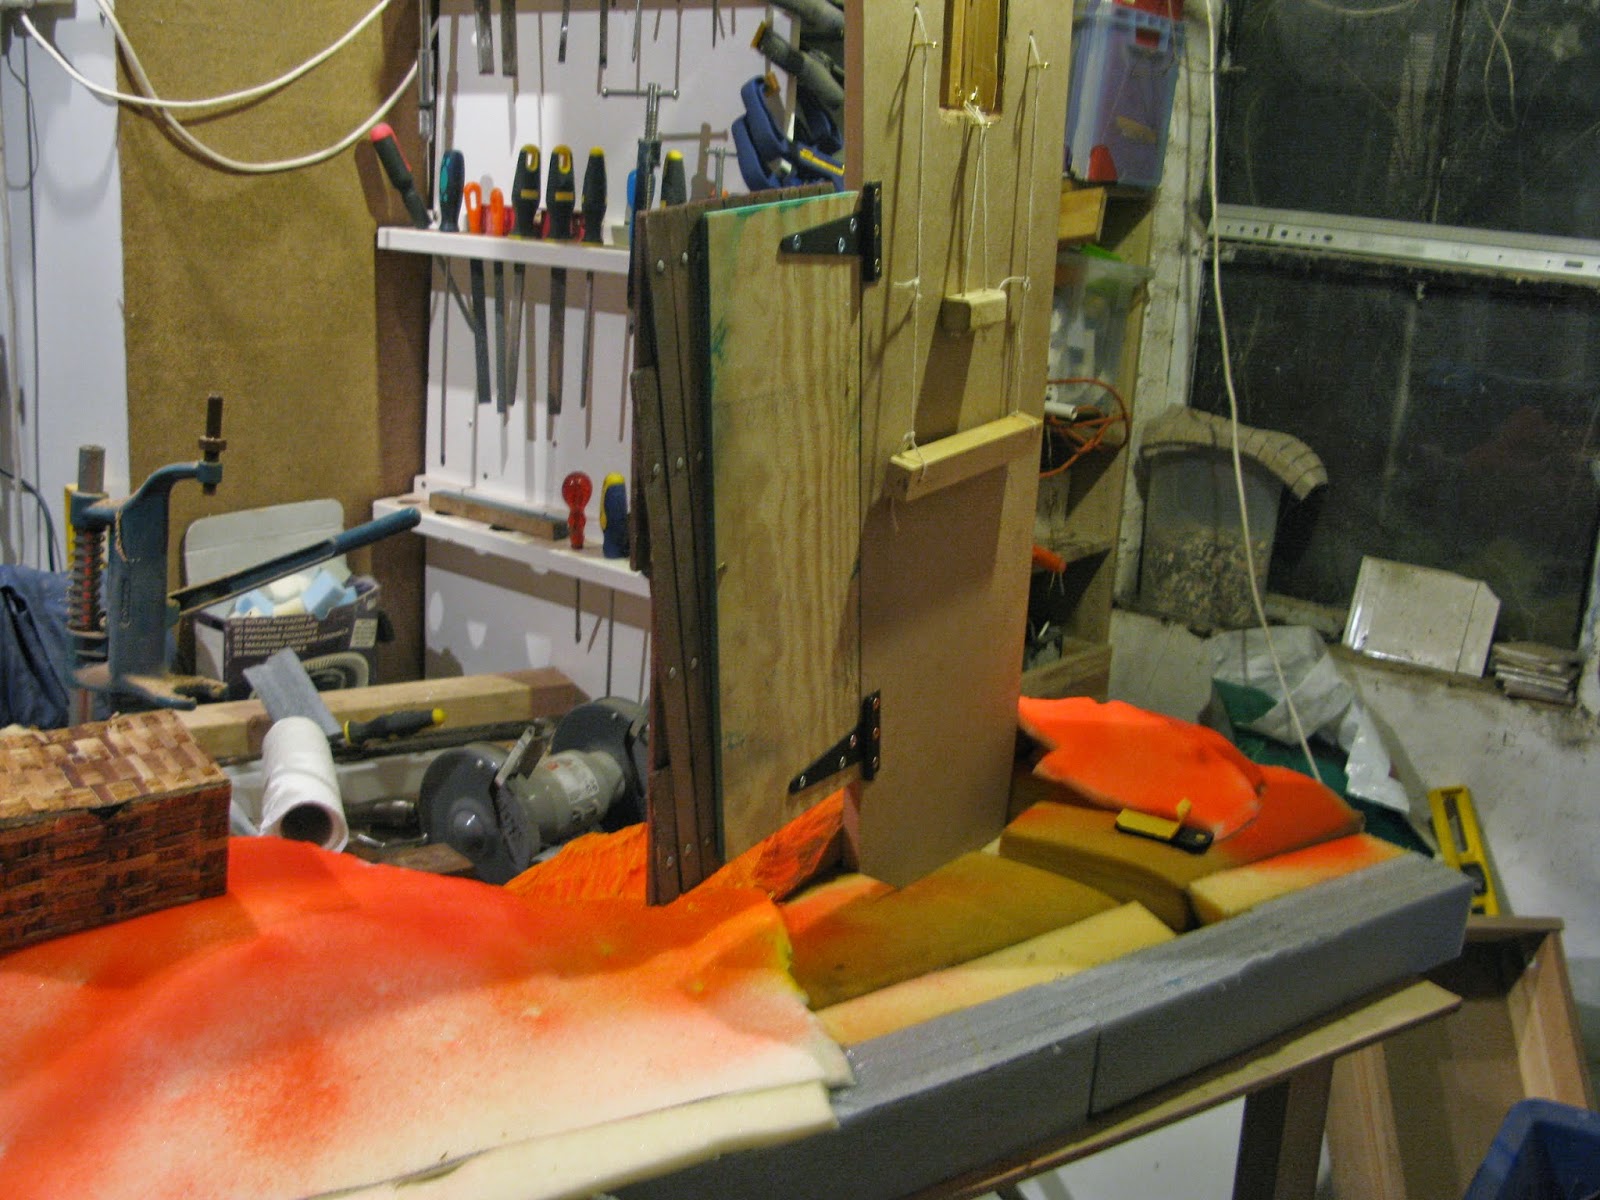
 I began with a large silhouette of his house, which was scaled to the puppet to allow him to easily look out the window at the top. Tapered sides accentuate its tallness. The floor of the set was then layered up with old foam mattresses which I carved with a scalpel to create a sandy texture. 


 The foam sand on Steven's island is base coated in neon orange and drybrushed with yellow. This ended up being very bright and appealing complimented by the bright blue of the sea.

I added a hinged door to the house and a mechanism for opening and closing the window. The bottom block opens the window and the top block closes it.
The finished set for Stevens island. The house is finished with plant leaves and bamboo. Initially I planned to use flattened tin cans and other rubbish to dress the house, this wasn't getting me the results I wanted though. Luckily My dad was able to help me out with some bits for his garden and it turned out great! He also made some legs for each of the sets which saved me a lot of time and was really helpful.


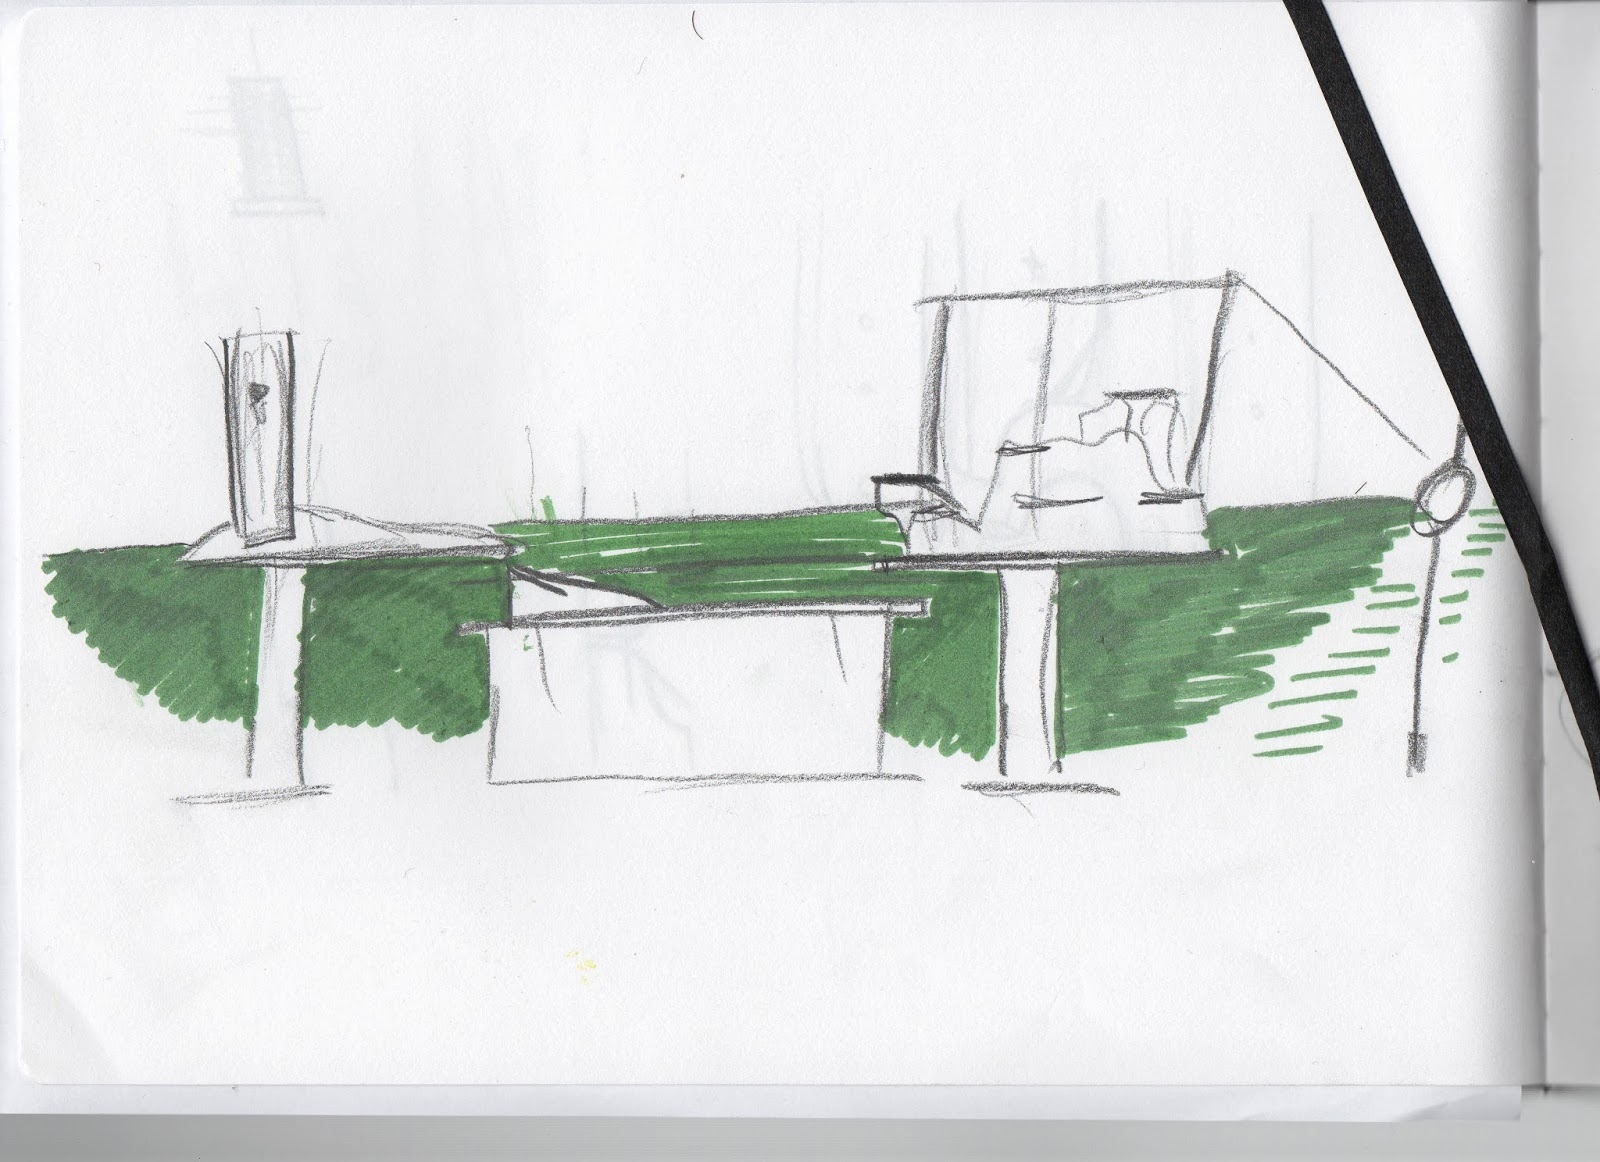
The sea is made from about 100 strips of blue fabric that where each sprayed white at the selvedge edge to make them look like foamy waves. These where then stitched end to end into long strips and layered as in the top image, creating a false perspective. Initially I planned to attach the sea to a long belt stretched across the performance space. I was a bit worried about this in terms of being able to control the sea level, sagging, and the potential to damage the venue... so I had a rethink. The eventual solution was to suspend the sea between two tressel tables with bards attached to them at the correct height. There is also a post that attaches to the center of the sea to minimize sagging.
Here is the first incarnation of Steven, as a newspaper 'sketch', one of a number I made in order to work out the scale and proportions of the puppets.
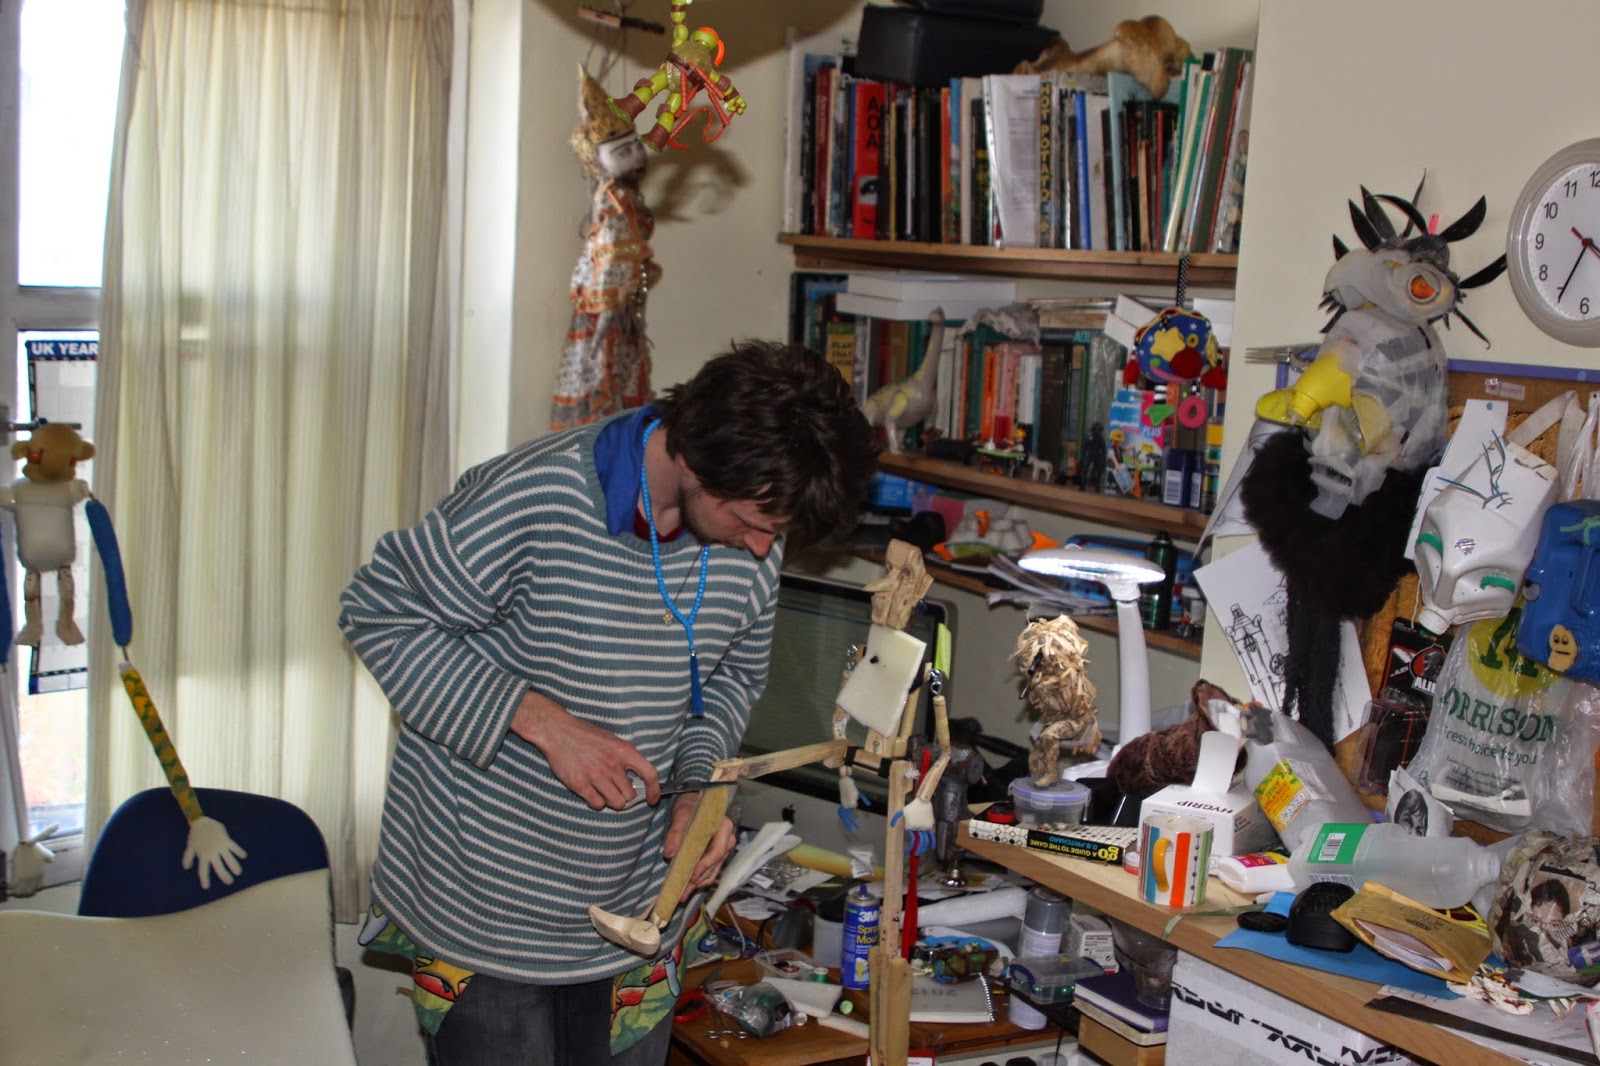
Steven was then re-imagined in wood. His shins where bulked out with foam and the hands were a combination of leather, milk bottle plastic, wire, bandage tape and foam. Both puppets have magnets in their hands which attach to various parts of themselves, each other and the set. These magnets were useful but somewhat unreliable, not quite as strong as was needed, so we had to babysit them a bit when preforming.

The joints in the ankles and knees went through various iterations during this process, as I attempted to achieve natural balance and movement in the puppet. For a long time Steven had a heavy, droopy head which caused problems, particularly when solo-puppeteering the character. I solved this by attaching a jointed 'spine' into the neak that allowed the puppeteer to reposition the head and have it then hold its own weight in that position.
There was just enough wobble to then have the character appear to talk simply bu jiggling the body,  this really helped in terms of freeing up extra hands to control the rest of the puppet.
I also built a fun little mechanism for shooting water out of Stevens mouth. It shot well during the performances and went down a treat, although the plunger on the syringe has snapped and needs replacing..

Once he was built and padded with foam Steven was painted. I went with neon pink and a pale flesh tone drybrush. This resonates with the aesthetic of his island and makes him look like hes been sat out in the sun too long! I tried a few different eyes out before settling on the Fimo pair at the bottom. I got these from Bamba Beads on Gloucester Road, Bristol. That place is often worth a look for specialist bits and bobs. I put a bit of foam above the eyes to soften out his stare. They are still holding up fine even though I ended up just wedging them in there.
While I'm talking about Steven I'll also mention his hats. Four of these where made, constructed from plastic bottles and paper mache. The idea was to have each one increasingly full of fish. This allows Gordon to reach into the sea and appear to catch fish while he sits on Stevens back in a key section of the play. The fish themselves are made of old mattress foam. The primary hat prop has a thin plate of metal that attaches it to the magnets buried in the back of Stevens head. Sadly this solution didn't stand up to the rigors of live performance, with the hat tumbling off a few times during our two performances. The planned solution at the moment is to try a combination of using cloth hats instead and installing stronger magnets.

The initial idea with Stevens outfit was to have him wear a shirt and waistcoat, but this was switched for dungarees to save time and in response to the bits and bobs I had sourced to fabricate the costume. I think I actually prefer this outcome a lot more. Big thanks to my mum for helping with a lot of the costume sewing and also with the sea which was a chore and a half.

Gordon went through much the same process as Steven, but was a more basic puppet overall.
The foam head was a lot easier to work with, being lightweight the neck held it upright much better, although the wooden control loop i attached to the back of the head caused it to loose a little of this support by adding additional weight. I might switch out for something lighter at some stage. His hands were simple but interesting. I made a plastic 'skeleton' from milke bottle plastic and surrounded this with foam. This made the hands sit and flex really naturally. It also made them quite durable, able to withstand children tugging on them where this would usually have easily torn the foam.
Gordon was painted mint green and drybrushed yellow. This made his head look a bit like a lemon, appropriate enough, as the character is somewhat obsessed with lemons and arrives with a boxful as his sole source of food. I also added some crazy looking hair. When Gordon arrives on the scene he has just been shot from a cannon. The wild hair, I hope, supports this idea. In the top image you can see the two puppets attach together. This is done by having a hole in the rear of Gordon that accommodates Stevens control handle.

One of Gordon's important accessories is this goofy looking bottle of milk. It turns out its... a little out of date. I made the eyes by putting washers on top of green beads and then spraying the whole thing white and removing the washers. It seemed to work nicely so i might do more eyes like that in future. The teeth are sculpey.
His costume was made by Bee and comprises a striped shirt and black trousers. Here is the finished puppet talking with some children after the show.
The last puppet is a crab, this was fashioned from a cuddly toy with some improvised control rods. He also had a magnet on one arm to help him hold the foam banjo which he plays to close the play.

The performance itself was a mixed bag but ultimately successful I think.

We remembered and delivered all our lines well, and the audience followed prompts and seemed to really enjoy themselves. My favorite part of the experience was having the kids come up and 'meet the puppets' interacting with them and asking them questions, as well as answering questions about what they learned and what parts of the show they enjoyed.

There were a number of technical issues, one of the leather tendons in Stevens left knee broke during the second performance causing his legs to move strangely. The aforementioned magnetic hat fell of numerous times, and while we covered it  relatively smoothly I felt we lost the audience a bit when it happened repeatedly. This is a major area that needs fixing. I also had problems getting the crab's ukelele affixed properly and fish and the hats where a fiddle to manage and need more practice.

The overall level of the puppetry was of course lower than that of my favorite shows I've seen. But I expected a lot from myself and now that everything is built I can devote more time to rehearsing heavily to close this gap. Particular areas that need work I think are when Bee and I are both controlling Steven and the Steven/Gordon hybrid puppet. I also need to re-establish my control of Gordon's eyeline, since I put the hair on its now harder to tell from behind where he is looking when I operate him. I might try putting a stick between his eyes pointing forward as a reference point while i rehearse, removing it for performance. 

Oh I almost forgot! We also found a name for the piece: 'The Long and Short of It'


Sunday, 23 February 2014


This week I have been making numerous modifications to the 'Legs' puppet (above) including lengthening the legs and more recently beginning to steadily lighten the puppet.
In this photo you can see that I have drilled holes in the puppets head to approximate hair as well as refining the shapes of various features and adding ears. I intend to reshape the top of the head and hollow out the inside as best I can to further reduce the weight as this is the heaviest part of him. I also want to rethink the neak as I'm not happy with it. As you can see I have also replaced the knee joints with leather. One of the plastic bottle joints in the knees failed so I did a rethink. I will replace the elbow joints with leather as well. He also has a control handle on his back which I have since reduced in size to better accommodate the 'Arms' puppet which interfaces somewhat humorously with it.
You can see the Arms guy taking shape in this photo from the studio. I've done a bit more work on him now. Hopefully both characters will be somewhat workable by Tuesday night for rehearsals.

This is a little mock up of the island where the Arms guy lives. It is essentially a pile of rocks which form a set of platforms on which the puppet can stand. A washing line stretches between two posts and a buoy.

I mentioned in my last post that we made some videos with the newspaper puppets, here they are:
The newspaper puppets were great to work with, really lightweight and flexible. They wore out pretty quickly though and I was glad of the string I had strung through them. We worked through a couple of little sequences and broke them down into separate little movements. We focused mainly on the Legs puppet and looked at getting up from sitting, getting from the chair to the floor and lunging.

This is a mock up I made on Saturday night, as sadly I wasn't able to retrieve the puppets from the workshop. The baby legs are a bit of a pain when you aren't controlling them directly as they just want to curl towards each other, but I like the head. In fact we are thinking we might smooth it out and use it on the actual puppet, or at least base the puppets head on this sculpt.

Yesterday (Sunday) we tested this guy out, here is the video:


He has a lot of character! I'm not sure if it was the more definite face on this puppet that helped direct the performance or the material construction and articulation, but his character really unfurled during these tests a lot more than it did during the tests with the newspaper version. We devised  a number of little sequences to explore how the puppet could be made to tackle different tasks
before constructing a mock up of his little island and filming a little section of the play that Bee had story boarded. Sadly something went wrong with the camera and the footage is too blurred to read properly.
The development and growth of the characters seems to come along with every rehearsal, in step with my growing confidence  working with the puppets. I look forward to looking through more tests over the coming weeks as we step up the amount of time we spend in rehearsal each week.

Tomorrow, or should I perhaps say later today Bee and I will be back in the workshop where I'll be able to have a proper look through the storyboards she has been working on. We aught to name the characters and the piece soon, I never know how to refer to them!
I also did a puppet workshop at BRAC on thursday, where the children and I made some simple marrionettes from recyclable junk. These were based on construction techniques from Alice Whites brilliant 'Preforming Toys' books released by Mills and Boon in the early seventies. I'll try and get some pictures of those up soon and some more info on the books.

Saturday, 15 February 2014

This week I have been at Puppet Place working on the new show. Here's a couple of pictures of the space:


 I spent Monday and Tuesday making newspaper 'sketches' of the two characters, one big set and one smaller set. At lunchtime on the Tuesday I went for lunch with a group of puppet builders from Rusty Squid who have been working on a large interactive display at the Bristol Central Library

On Tuesday Bee and I did some trial runs with the newspaper puppets, quickly discarding the larger more unwieldy puppets for the smaller scale versions. This scale offers more scope and comfort, as well as avoiding the 'puppets walking on the floor of the stage' issue, which Cris Pirie explained at the workshop on Saturday.  When a puppet walks on the floor much of the action ends up hidden from the audience unless you are sitting in the front row. Working on a raised set will be much easier with smaller puppets. The 'legs' guy measures up at about a foot and a half, and the 'arms' guy about a foot tall (with arms of nearly two and a half feet in length). 

We came out with some lovely bits of movement, and really broke it down on a few things and made strong progress. I'm really happy with how the performance aspect is coming along. Sadly I don't have the videos from the session with me at the moment, but hopefully I will be able to put them up here soon in one form or another. Bee also did some sketches exploring some costume ideas for the puppets:
Working largely from these I sketched a few more designs myself later that evening.

Wednesday was kinda rained off, but I used the opportunity to stock up on materials for making wooden armatures for the puppets and bits and bobs to begin set fabrication. 

On Thursday I was able to stay late at the workshop with Dik Downey of Pickled Image, He and his team are working on some large scale puppets for a show in London and I was able to pitch in and assist them for a while. I made good progress on the Legs puppet over Thursday and Friday, here are some Images of him so far:


 There are a few things that need doing on this puppet still, including perhaps lengthening the shins a little (they do look a little off don't they?) and finishing the head and hands. It sure is lovely to be able to build with wood at a good speed, since leaving John Wright Modelmaking I've missed doing machine work. For Monday and Tuesday next week Bee is coming in so we might get started on some set stuff. Here are some bits and bobs of set stuff I drew out:


 You'll have to pardon the lack of plot exposition as there is a lot to touch on, perhaps when we have a semi final treatment of the play written out I'll put it up.

I've booked the space for another week to give us a bit more time there. More updates soon!


Sunday, 9 February 2014

Well its been a while again! But a lot has been happening. I've been waiting to get back the camera which had the puppet tests Bee and I filmed on the 6th of February. We only really ended up with one take as it got late, we were trying some more complex set and lighting stuff. Here it is:

I also have some good/bad news. The bad news is we will have to shelve this show for the time being, the good news is we are shelving it because we have a commission to do a show for a school! It will be my first bit of paid puppetry work so its pretty exciting. They are asking for two 20 minute shows, each for 200 children.

For this one I want two bring in two Japanese folk characters, Ashinaga and Tenaga (or long legs and long arms)


In other news I attended Green Ginger's 'An Introduction to Puppetry Manipulation with Chris Pirie' on Sunday. It was a fabulous workshop and I would recommend attending any of Chris's workshops, having also attended his Trash Hack workshop last year. Tomorrow morning (well at about 10am today) I will be starting my residency at Puppet place where I will be renting studio space till the 18th. I feel honored to be able to work along side Green ginger in the workshop, as well as Rusty Squid and Pickled Image, who are all producers of superb puppets and puppet shows. I'll make sure to keep posting about my experiences there over the next few days.


Sunday, 2 February 2014

Over the weekend I have been making some more set pieces for the practice set. My thought here is to use 'quick and cheap' materials to rough out set components, play around with them and get a feel of how they function both aesthetically and functionally alongside the puppets. Successful pieces can then be made from MDF and properly decorated.

 I started out with a page of potential shapes:
 I've started with shapes P and Q. You won't see Q in the photos as it is in the garage drying, I'm trying out a mixture of PVA and woodchip for texturing the surface.

In response to the puppet testing last Thursday I thought it would be interesting to create a set of steps leading to a platform. This would give the comb guy some terrain to navigate. It also allows us to place more buildings in the foreground without obscuring the puppet, so we can build more of a city scape.

Here's where I'm at as of this evening:


I've Also been fixing the puppet up a bit, with thicker cotton for the wrist mechanisms (along with a new kind of knot so see if that helps). I also added some squishy pads on the palms to protect the wrist mechanics when he walks on his hands.
White might also help make the hands more visible during performance.


 I thought it would be interesting to have two figures shaking hands or sat opposite one another at a table. Tiny cities in each of their heads represent their thought process, personality, drives ect. Between them a third city is built up as a kind of 'dialogue' between the two figures. Perhaps this could represent the unspoken communication that might lie underneath a simple gesture like shaking hands. For example if two business partners finalize a deal or two friends part ways. Under the surface a war wages both internally in each figures head and externally in the void separating the two.
(If I turned this into a piece I don't think I would color divide the buildings or space as explicitly, the performance should speak for itself.)

If I merge the current concept for the play with this image I would probably have to start almost from scratch, but at the moment I'm giving it careful thought.

I have my induction at Puppet Place on Tuesday morning, so tomorrow night Bee and I will meet up to discuss the project and nail a few things down in order to come up with a treatment of the project to present to Chris and Rachel at the induction.